

So, you’re looking to get the most out of your FUJIFILM Multi-Function Device?
Here are some of the best uncommon/unknown features to utilise, from the desk of our very own Brodie Rummery.
Banner Printing
Printing on long paper is supported on most of our current office models!
 Including: DC/AP V – C7776 / C7775 / C6676 / C6675 / C5576 / C5575 / C4476 / C4475 / C3375 / C3374 / C3373 / C2276 / C2275
DC/AP VI – C7771 / C6671 / C5571 / C4471 / C3371 / C3370 / C2271
Suitable for creating banners or wherever your creativity takes you.
Long paper up to 300 x 1200 mm on AP/DC V and 320 x 1200 mm on AP/DC VI is supported (with a PCL driver and the Windows® version of the Adobe® PostScript® 3TM driver).
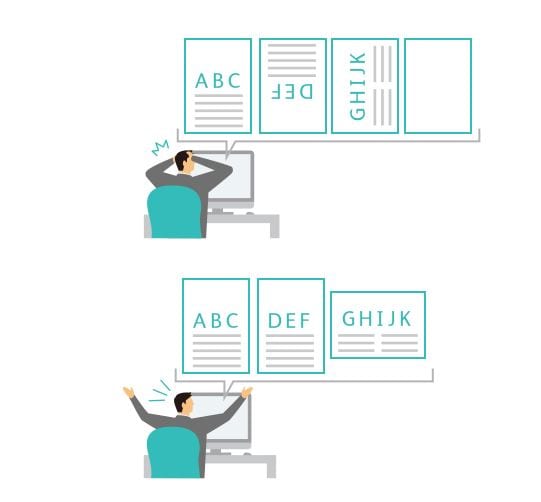
Scan Auto
Digitizing a large quantity of documents is difficult…
Managing and utilising standard documents (invoices, contracts, and orders) efficiently can take a lot of work.
All corrections that had to be performed separately on a PC can now be automated!
Scan Auto automatically detects document orientation, whether the document is one-sided or two-sided, and whether there is a mix of one-sided and two-sided sheets.
By simply loading the document and pressing the start button, scanning becomes easy.
Scanned documents can be saved to a PC or sent via e-mail.
You can utilise these extra features by scanning through the “Scan Auto” icon on your home screen.
This new feature is only available on the following models: DC V C2263 / C2265 and DC/AP VI – C7771 / C6671 / C5571 / C4471 / C3371 / C3370 / C2271
For a full guide please refer to the user guide.
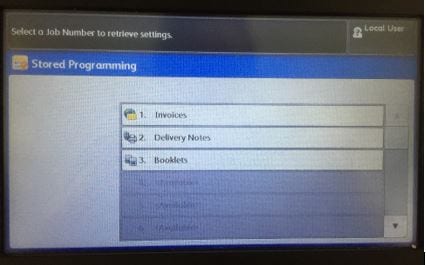
Stored Programming (Macros)
Do you have a certain template or settings you have to change every time you copy or scan a specific type of job?
Stored programming allows you to record and save all your settings to apply with one click!
This is a great feature for streamlining different workflows and is super easy to setup;
1. From the services home screen, select “Setup” from the onscreen menu on the right.
2. Select “Stored Programming” from the menu.
3. Ensure you are in the “Store” tab on the left of the screen and choose an available program slot.
4. Now complete your copy or scan job as you would like it to be saved.
5. When you have finished all of your settings press the green start button below the number pad to save. If you make a mistake along the way and need to try again, just press interrupt to cancel instead.
6. After your program is saved, in the stored programming setup menu on the left you will also find the options to edit the names, icons or delete any stored programs.
Done!
You can find & use your stored program in the “Stored Programming” icon on your services home screen.
Just click your desired program and watch all of your settings magically applied, on all current office sized multi-function devices.